Difference between revisions of "How to enable camera support in Raspbian"
Jump to navigation
Jump to search
| (One intermediate revision by the same user not shown) | |||
| Line 2: | Line 2: | ||
* Run the following commands in a terminal to upgrade the Raspberry Pi firmware to the latest version: | * Run the following commands in a terminal to upgrade the Raspberry Pi firmware to the latest version: | ||
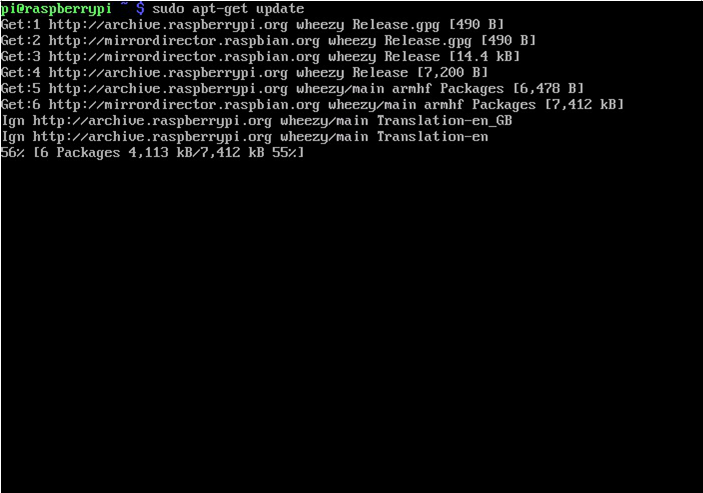
''sudo apt-get update'' | ''sudo apt-get update'' | ||
| − | + | ||
| − | Fisheye1.png | + | [[File:Fisheye1.png]] |
| − | + | ||
''sudo apt-get upgrade'' | ''sudo apt-get upgrade'' | ||
| − | + | ||
| − | Fisheye1.png | + | [[File:Fisheye1.png]] |
| − | + | ||
* Access the configuration settings for the Pi by running the following command: | * Access the configuration settings for the Pi by running the following command: | ||
| Line 16: | Line 16: | ||
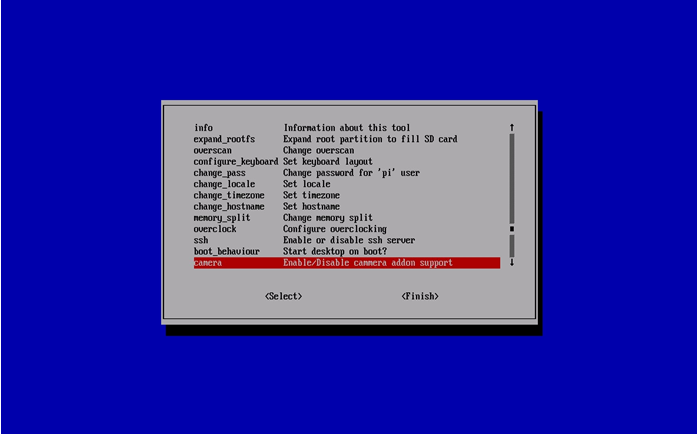
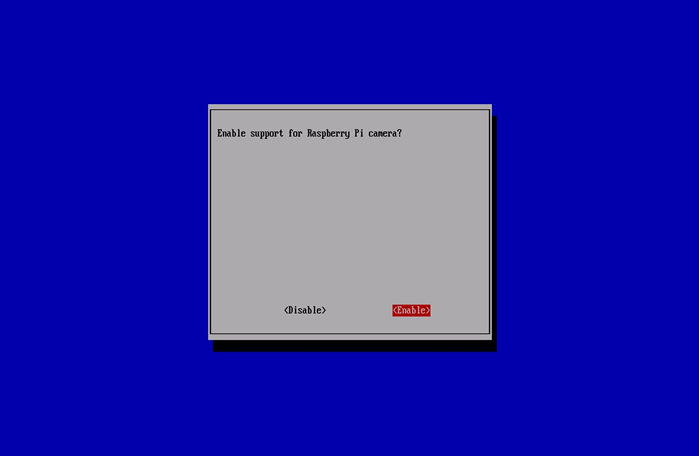
* Navigate to “camera” and select “enable”. | * Navigate to “camera” and select “enable”. | ||
| − | |||
| − | |||
| − | |||
| − | + | [[File:Fisheye3.png]] | |
| − | Fisheye4.png | + | |
| − | + | ||
| + | [[File:Fisheye4.png]] | ||
* Select “Finish” and reboot. | * Select “Finish” and reboot. | ||
| − | + | ||
| − | Fisheye5.png | + | [[File:Fisheye5.png]] |
| − | |||
Latest revision as of 19:21, 24 April 2023
- Boot up the Pi and log in. The default username is pi, and the default password is raspberry. (Note: if you have changed these from the default then you will need to supply your own user/password details).
- Run the following commands in a terminal to upgrade the Raspberry Pi firmware to the latest version:
sudo apt-get update
sudo apt-get upgrade
- Access the configuration settings for the Pi by running the following command:
sudo raspi-config
- Navigate to “camera” and select “enable”.
- Select “Finish” and reboot.


